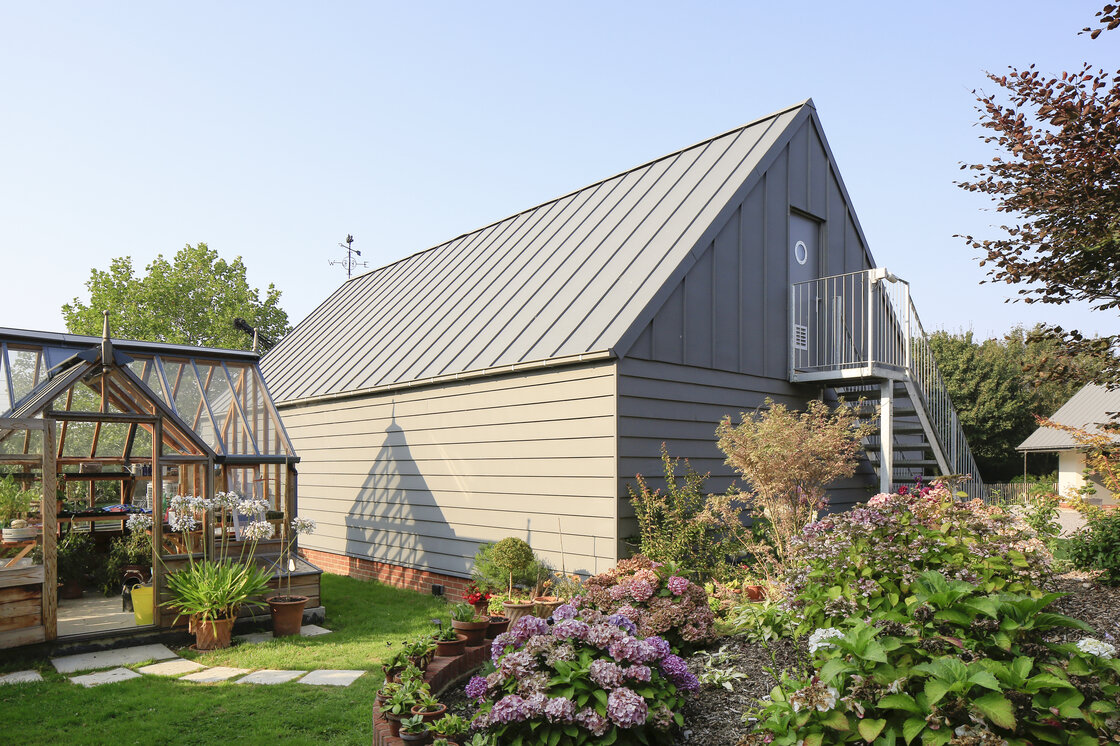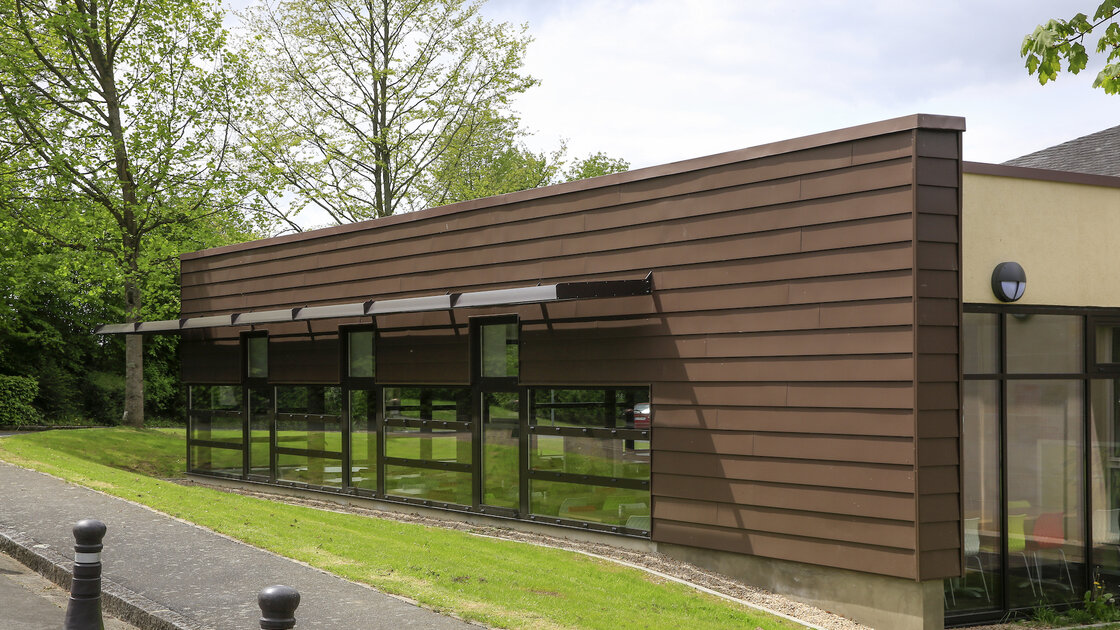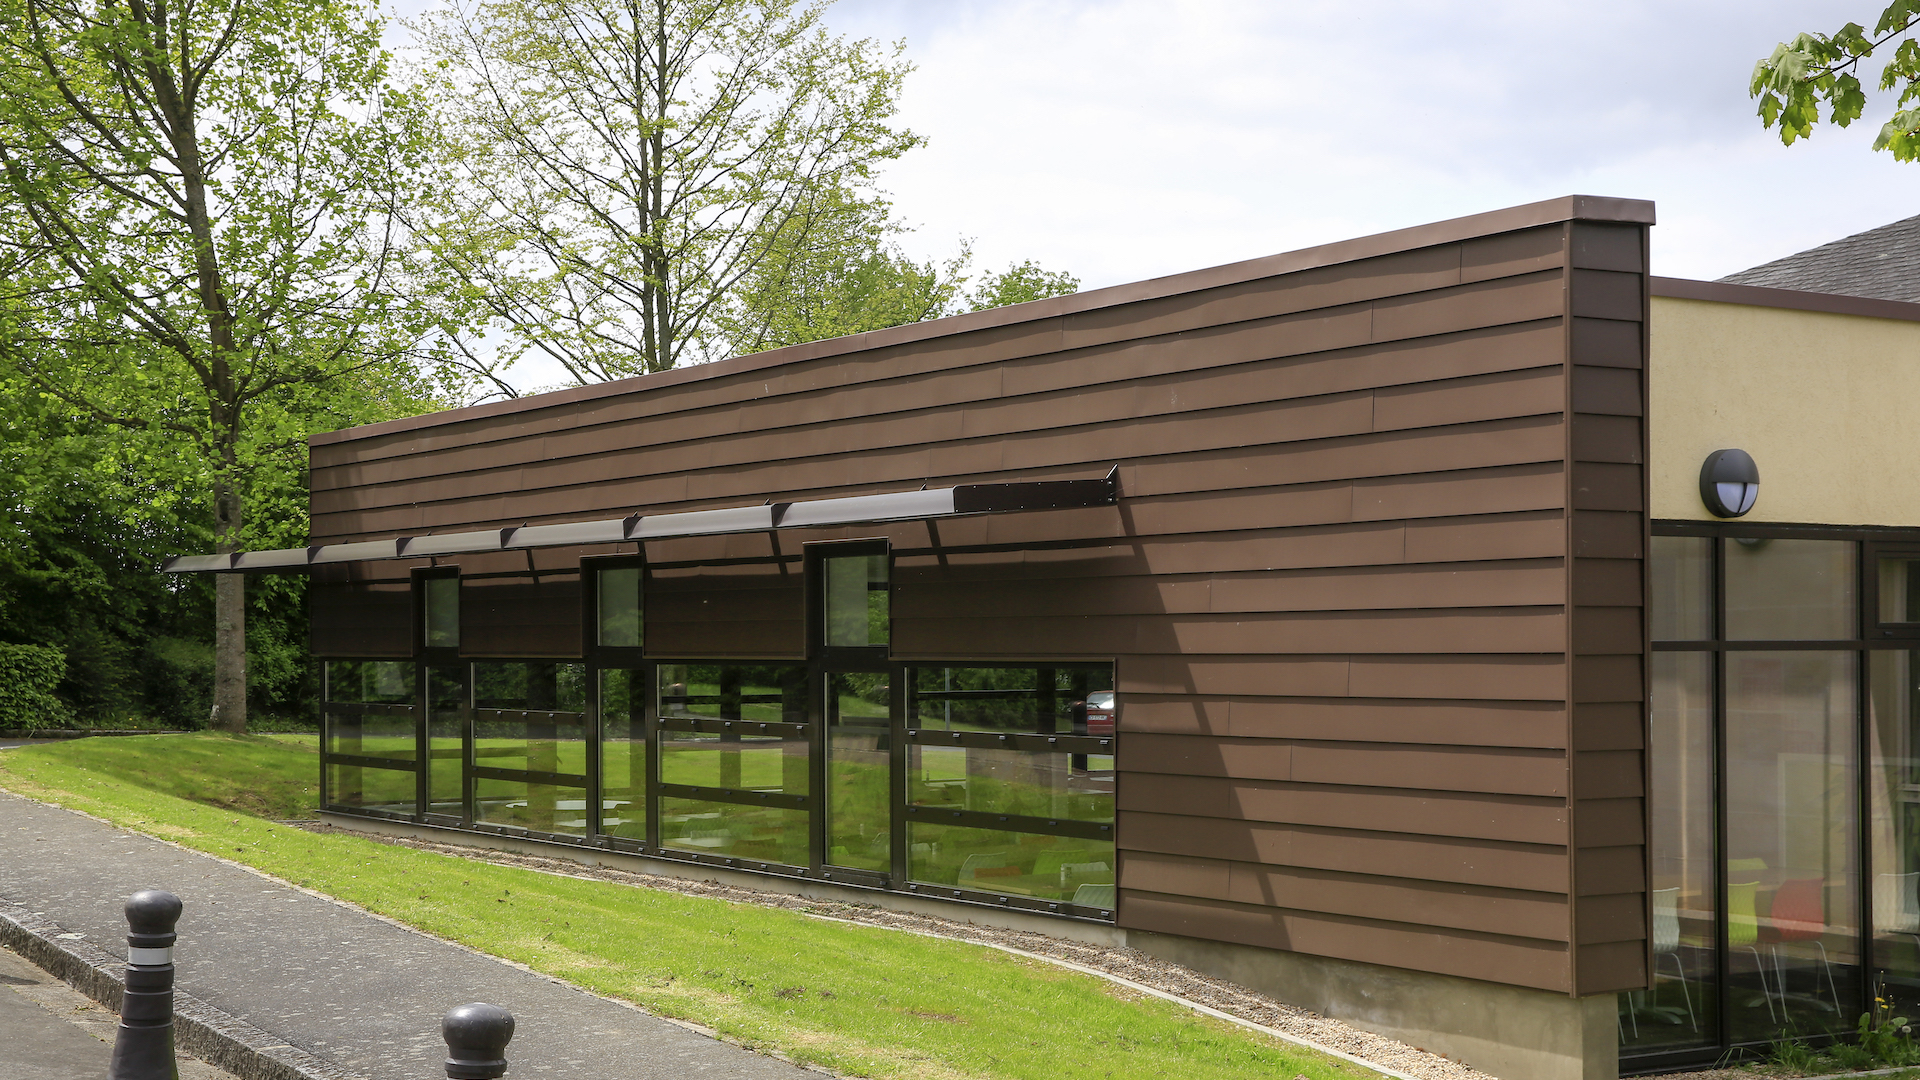
Overlapping panel
- Facade
- Screws
- Hidden
- Overlapping
- Overlapping panel
- Aesthetic of transverse line of offset joint
- Fast and easy installation making it a cost effective solution
- Range of components offering a wide variety of all flashing details
General information
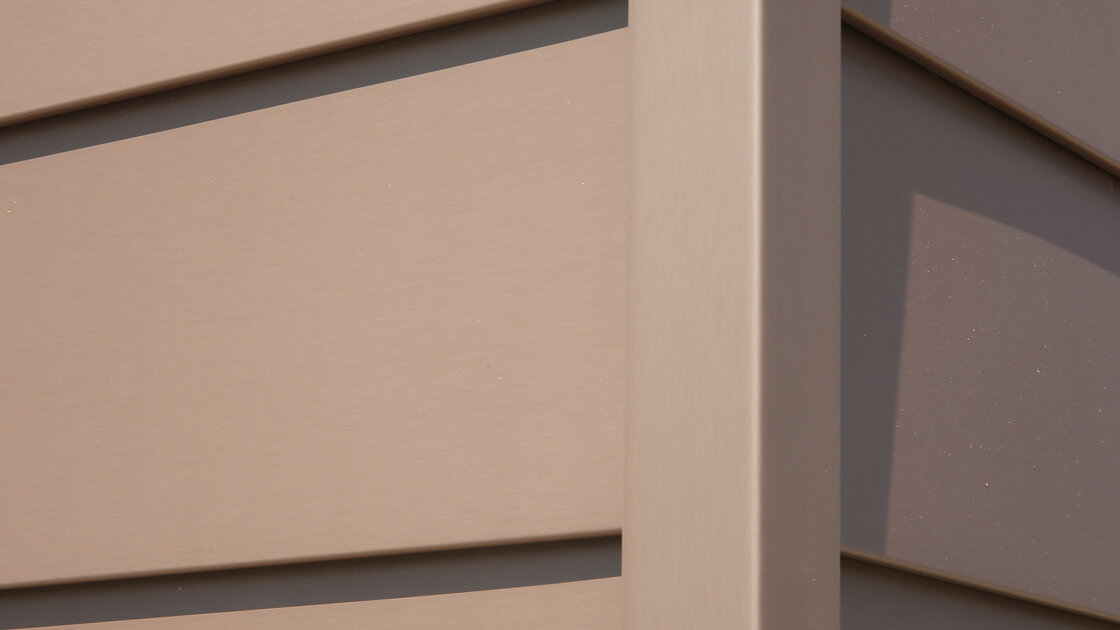
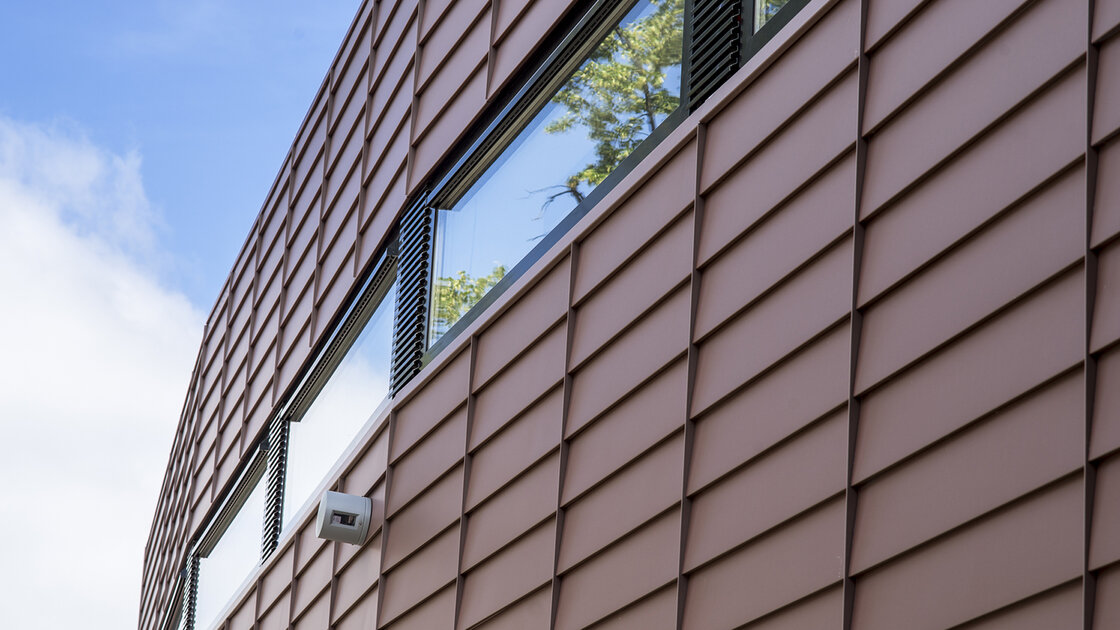
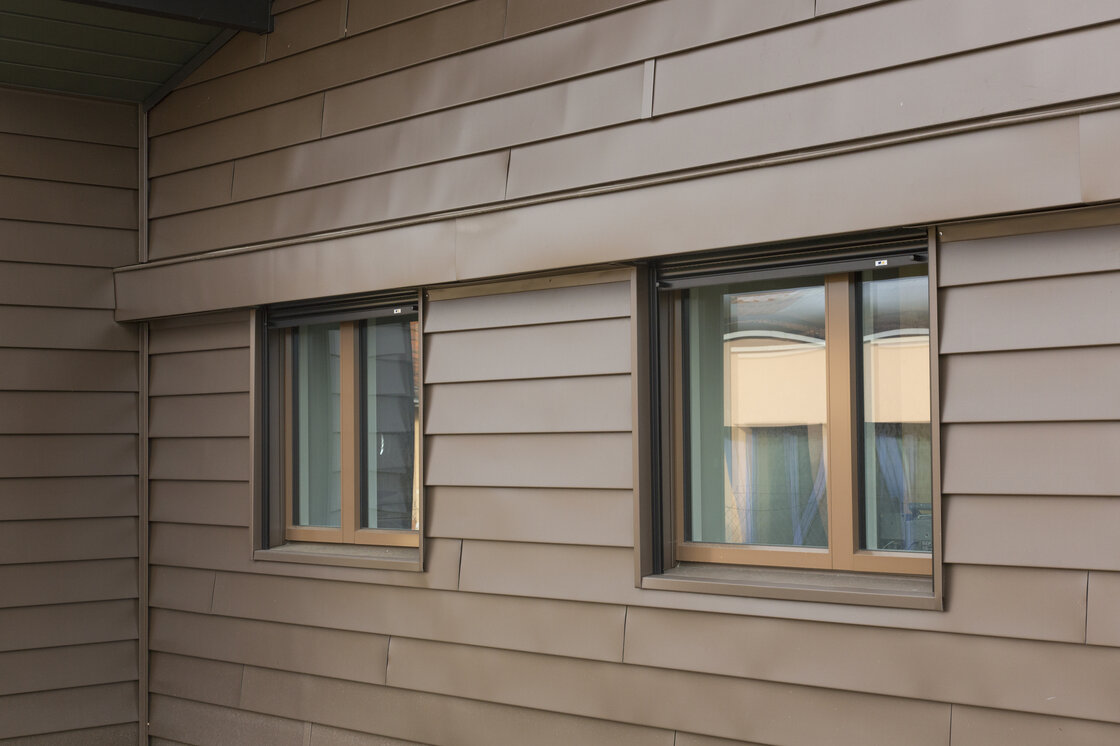
The Overlapping Panel system comprises of an economical kit of panels and flashings that can be easily installed on either timber battens or metal cladding rails. The system is fixed with screws or with a nail gun resulting in the panels being held in place with no visible fasteners. They are installed horizontally.
Areas of application
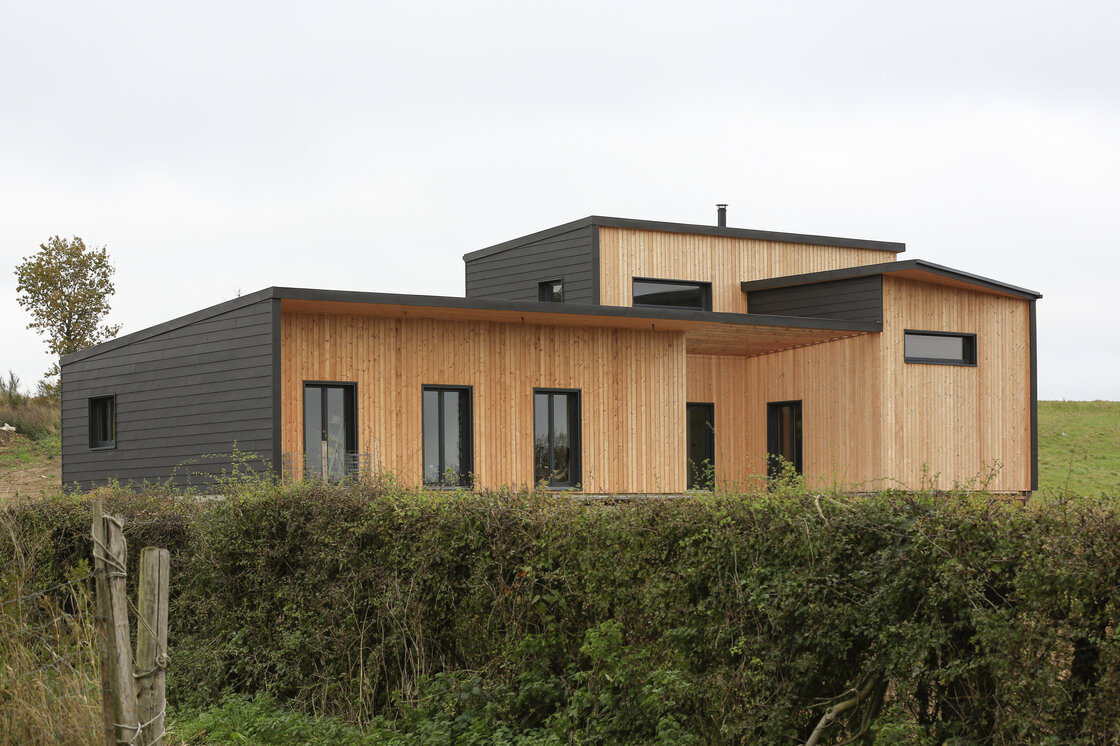
Suitable for both renovation projects and new buildings.
All types of buildings: commercial, public buildings, collective and individual housing
Finishes
See all aspects-
 ANTHRA-ZINC
 -
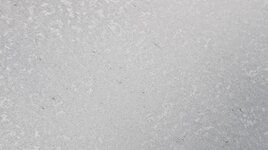 AZENGAR
 -
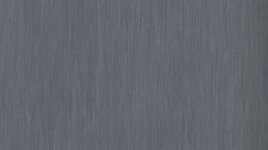 PIGMENTO Blue
 -
 PIGMENTO Brown
 -
 PIGMENTO Green
 -
 PIGMENTO Red
 -
 QUARTZ-ZINC
Installation
See all our installation videosDescription
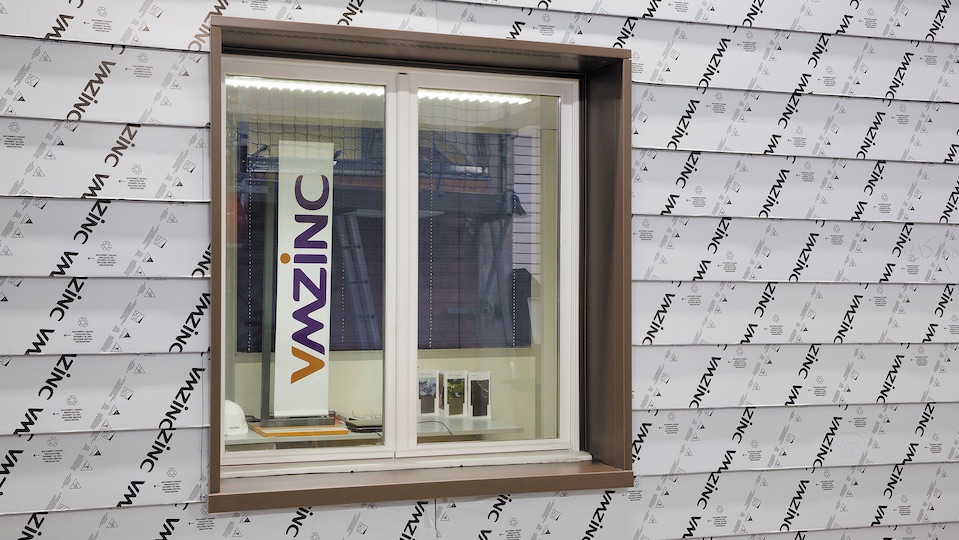
In a sequential order the panels are installed from bottom to top and fixed with a nail gun for timber supports and screwed into position when using metal cladding rails. The panels should be installed with the protective film in place. Protective film is recommended to be removed within 60 days post installation. A full set of standard flashing trim is available for base, top, corners and windows.
-
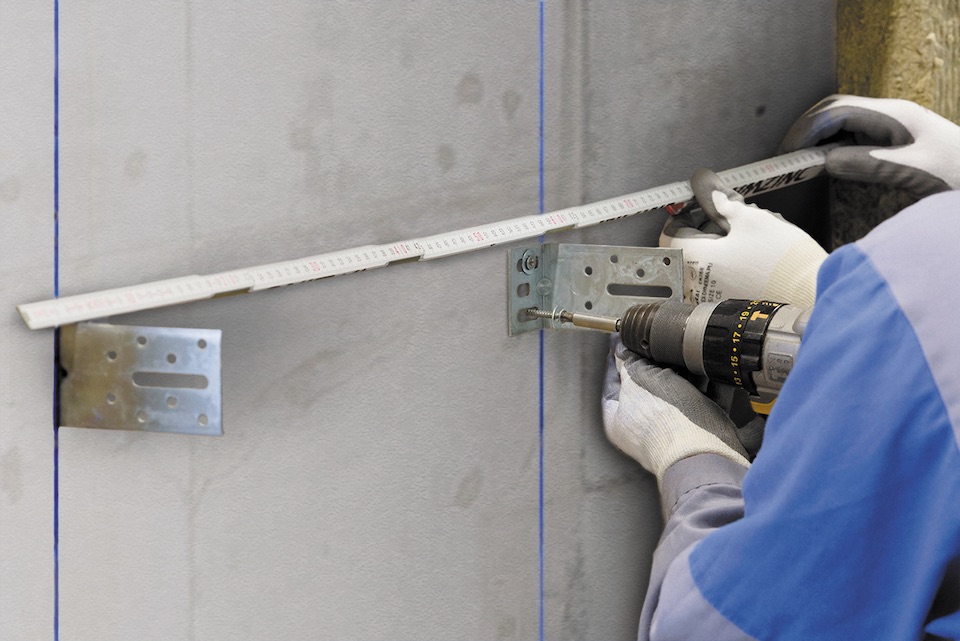
1.
Installation of the framework is prepared by marking out (laser or tracing line) and must correspond to the layout plan provided by the architect. Once the vertical tracing is done, the brackets are fixed.
The centre distance between rafters must not exceed 600 mm on the main building. -
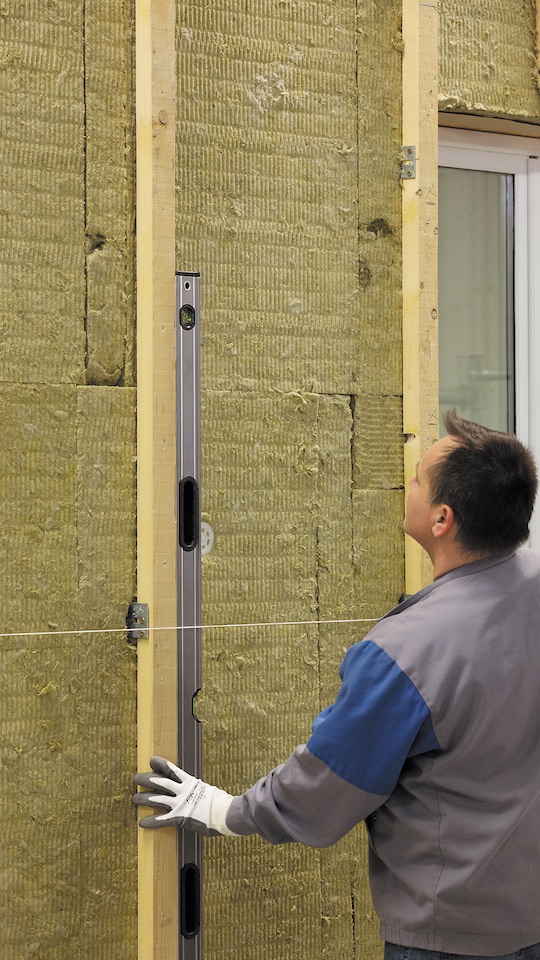
2.
Mineral wool insulation is installed directly onto the substructure.
Rafters are then fixed on brackets.
-
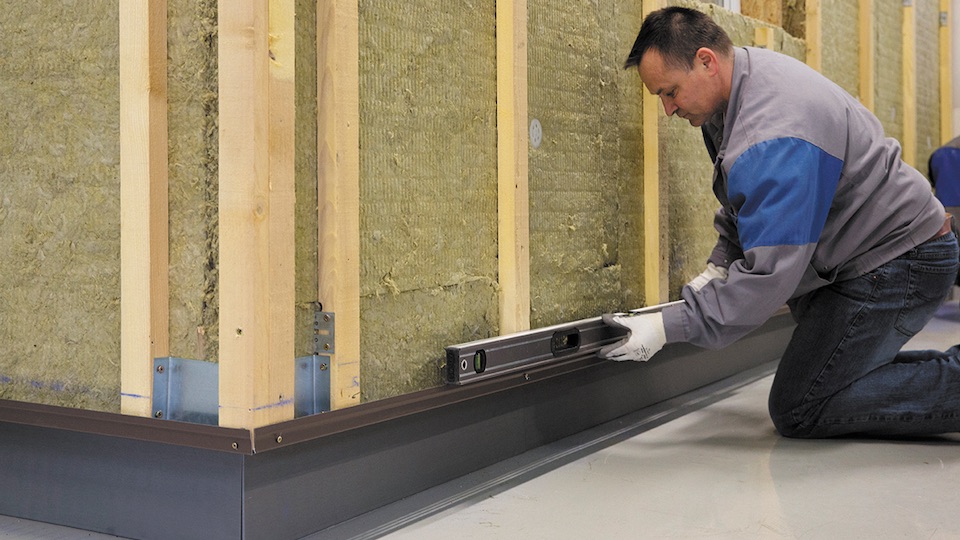
3.
Start installing Overlapping panel by installing a perforated base trim to create the entry of the air gap. It is important to ensure the base trim is horizontally aligned because it determines the correct position of the first row of panels
-
4.
The panels are installed from bottom to top and fit into each other easily with a clicking movement. The panels are fixed onto each rafter using screws or nails.
-
5.
The panels must be handled with care on the trenching knife to avoid deformation.
-
6.
For transverse junctions, a trim splice plate is placed behind one end of the panel.
-
7.
The film must be removed quickly in a single movement after completion of installation.
-
8.
A range of universal zinc accessories is available and makes working on flashings easy.
.jpg?width=1120)
.jpg?width=1120)
